 how-to
5 Steps to Level a Backyard With Uneven Terrain
Last Updated: October 24, 2026
Quick Summary
To level a backyard, first measure low spots and assess soil type and drainage needs, then remove vegetation and debris, spread fill material in compacted layers, and create proper grading with a 1-2% slope to direct water away from your home.
- Mark low spots with spray paint or stakes and use a 4-6 foot level to check slope severity
- Use a 70/30 mix of fill dirt to topsoil, spreading material in 2-4 inch layers and compacting each before adding the next
- Create a 1-2% slope away from your house foundation to prevent water pooling near the home
- Loosen compacted soil with a garden fork before adding fill so new material bonds with existing ground
- Test your work after the first heavy rain and adjust grading if water still pools in any areas
Table of Contents
- Assess Your Backyard's Current Grade and Drainage Needs
- Gather the Right Yard Leveling Tools for Your Project
- Remove Vegetation and Debris From Your Work Area
- How to Level a Lawn With Topsoil and Fill Material
- Backyard Grading for Drainage to Prevent Water Pooling
- Understanding the Cost to Level a Backyard
- When to Level a Backyard and Schedule Your Project
- Book Your Backyard Leveling Consultation
- Frequently Asked Questions
Assess Your Backyard's Current Grade and Drainage Needs
Before you start any work, understand what you're dealing with. Uneven terrain creates real problems: water pools in low spots, grass dies, and your yard becomes a maintenance headache. The first step to level a backyard is measuring exactly where the problem lies.
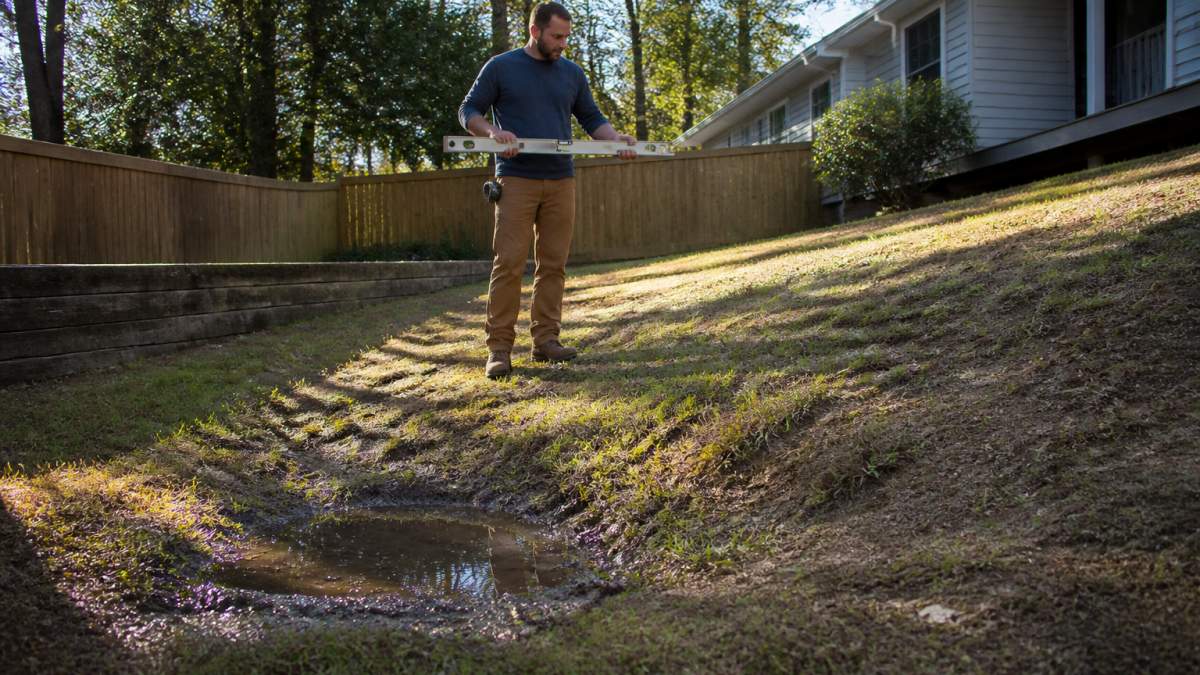
Walk your yard after rain. Where does water sit? Those are your low spots. Mark them with spray paint or stakes. Use a long level (4-6 feet works well) to check how much slope you have.
Check your soil too. Is it compacted clay? Sandy? Full of roots? The soil type matters because it affects how water drains and how well your new fill will settle. Clay holds water. Sand drains too fast. You'll likely need a mix of both.
Also look at where water comes from. Does it flow from your neighbor's yard? From your roof gutters? Understanding the source helps you fix the real problem, not just the symptoms. Many homeowners level one area only to watch water move to a new low spot.
Gather the Right Yard Leveling Tools for Your Project
You don't need professional equipment to level a backyard. Smart tool choices make the work faster and easier.
Start with a long level. A 4-foot aluminum level costs under fifty dollars and shows you exactly where slopes are. A string level works too if you're on a tight budget. Add a wheelbarrow for moving fill material. A shovel with a flat blade lets you scrape and spread. A rake helps you smooth the final surface.
For bigger projects, rent a hand tamper or plate compactor. These compact the soil so it doesn't settle later. Settling is the enemy of a level yard. You fill it, then three months later it sinks and you're right back where you started.
A measuring tape helps you track how much fill you need. Measure the length and width of low areas, then estimate the depth. Simple math tells you the volume. This prevents buying too much material or running short halfway through.
Consider safety gear. Work gloves protect your hands. A dust mask helps if you're moving dry material. Eye protection is smart when you're spreading loose fill.
Essential tools for backyard leveling range from budget-friendly options to rental equipment for larger projects.
| Tool | Cost or Rental | Best For |
|---|---|---|
| 4-foot aluminum level | Under fifty dollars | Showing exact slope locations |
| String level | Budget option | Tight budget alternative |
| Wheelbarrow | Not specified | Moving fill material |
| Flat-blade shovel | Not specified | Scraping and spreading |
| Landscape rake | Not specified | Smoothing final surface |
| Hand tamper or plate compactor | Day rental | Compacting soil on bigger projects |
| Measuring tape | Not specified | Tracking fill material needed |
| Work gloves and dust mask | Not specified | Safety protection during work |
Remove Vegetation and Debris From Your Work Area
Before you add fill material, clear the space. Dead grass, weeds, rocks, and roots need to go. They create air pockets that make your new surface settle unevenly.
Use a sod cutter if you have thick grass. These machines strip off the top layer of sod and roots in one pass. You can rent them for a day. Alternatively, dig out the sod by hand with a flat shovel. It's slower but works for smaller areas.
Remove all rocks and debris. Even small stones create gaps. When it rains, water runs through those gaps instead of compacting the soil. Your yard settles unevenly and you're back to square one.
Kill any weeds with an herbicide a few days before you work. Dead weeds are easier to remove than living ones. Don't skip this step. Weeds grow right through your new fill if you leave the roots behind.
Loosen the compacted soil underneath with a garden fork. Break it up so new fill material bonds with the existing ground. Smooth, hard soil rejects new fill. Loosened soil accepts it.
How to Level a Lawn With Topsoil and Fill Material
This is where the actual leveling happens. The material you choose determines how well your yard holds up over time.
Use a mix of topsoil and fill dirt, not pure fill alone. Fill dirt is cheap but compacts hard and doesn't support grass growth. Topsoil has organic matter that helps grass root and water drain.
Spread the material in layers, not all at once. A 2-4 inch layer is ideal. Compact each layer before adding the next. This prevents settling later.
For yards in Landscape in North Miami and similar areas with heavy clay soil, consider adding compost or aged bark to improve drainage. These amendments help water move through instead of pooling. They also feed your grass as it grows.
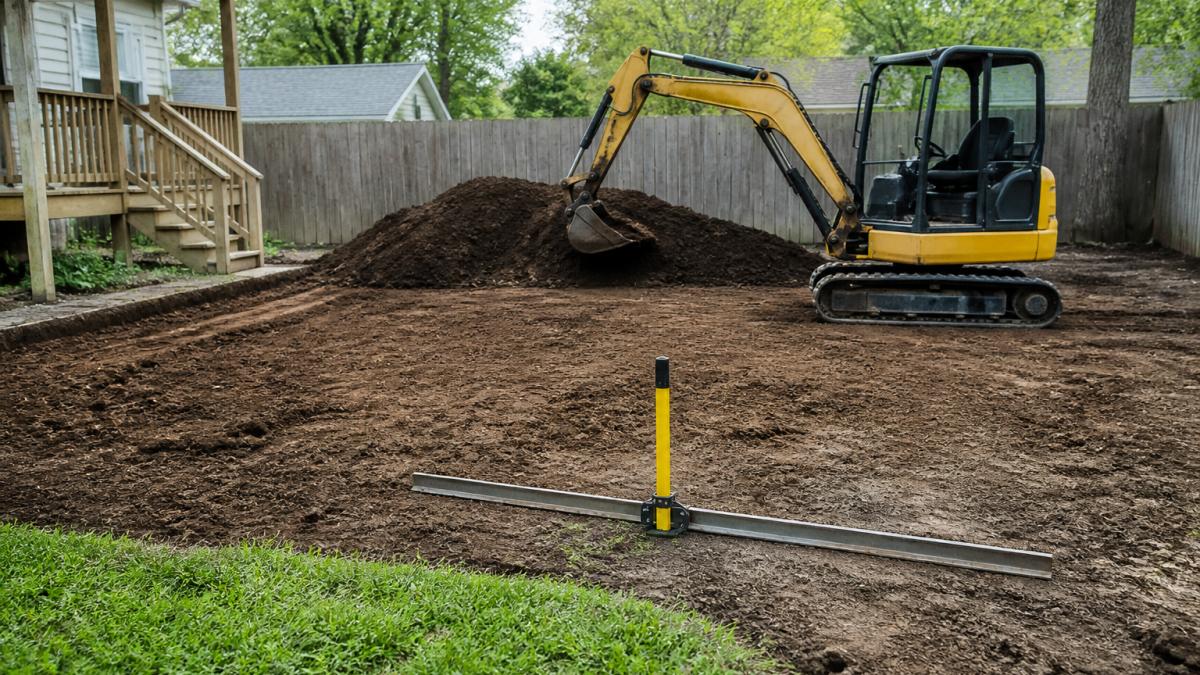
Rake the material smooth as you go. Use a landscape rake to level it out. Small bumps and valleys now become big problems later. Spend time on this step. It's the difference between a yard that looks right and one that needs fixing again next year.
Water the material lightly as you compact. Moist soil compacts better than dry soil. But don't oversaturate it. You want it damp, not muddy.
For deeper problem areas, you might benefit from reading about mulch vs. gravel for backyard drainage to understand how different materials handle water flow in your specific situation.
Backyard Grading for Drainage to Prevent Water Pooling
Grading is the slope you create. It directs water away from your house and low spots. Most homeowners ignore this and pay for it later.
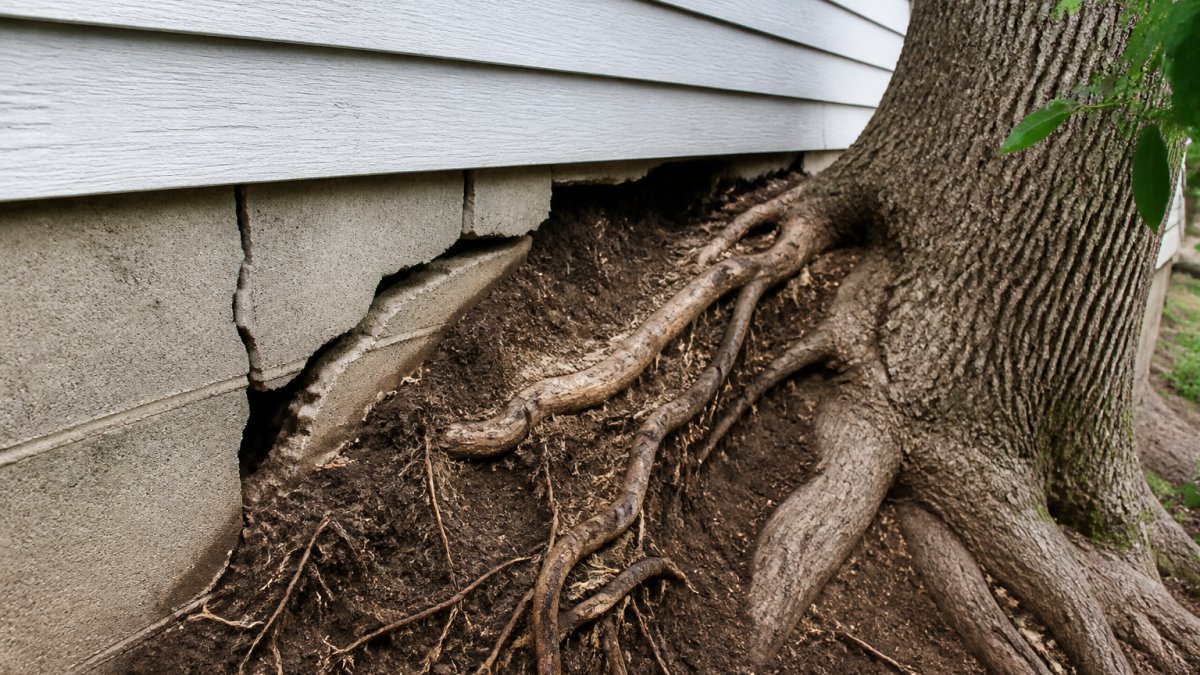
Slope your yard away from your home's foundation. Water pooling near your house leads to foundation problems. A 1-2% slope is standard. That means for every 100 feet, drop about 1-2 feet. For a typical backyard, that's subtle but effective.
Create swales or shallow channels in problem areas. A swale is just a gentle depression that guides water to a lower spot or storm drain. You don't need it to look dramatic. A 6-inch-deep channel that's 2-3 feet wide works. Grass grows right over it once it settles.
Use French drains if water comes from underground. A French drain is a trench filled with gravel and a perforated pipe. Water enters the pipe and moves away from your yard. It's more work upfront but solves chronic drainage problems.
Plant in the right spots. Trees and shrubs in low areas help absorb water. Native plants adapted to your climate need less water and handle wet soil better.
Test your work. After the first heavy rain, watch where water flows. Does it pool anywhere? Does it flow toward your house? Adjust your grading if needed. It's easier to fix now than after you've planted the entire yard.
Understanding the Cost to Level a Backyard
Pricing depends on your yard's size, how uneven it is, and what materials you use. Small yards with minor slopes cost less than large properties with severe drainage problems.
Material costs vary by location and availability. In Landscape and North Miami, sourcing topsoil and fill from local suppliers typically costs less than having it shipped long distance. Get quotes from multiple suppliers before buying. Prices fluctuate based on demand and season.
Labor is the biggest variable. Hiring professionals costs more than DIY work, but they finish faster and do it right the first time. For accurate pricing on professional yard leveling services, review the services we offer to understand what's involved in a full project.
Equipment rental adds up if you need a compactor or sod cutter. Budget for that separately. A day's rental might cost between thirty and eighty dollars depending on the tool.
The real cost comes from getting it wrong. If you level your yard poorly, it settles, water pools again, and you do it all over. That's expensive. Doing it right the first time saves money long-term.
When to Level a Backyard and Schedule Your Project
Timing matters. The best time to level a backyard is during dry season when soil is workable. In South Florida, that's typically fall through early spring. Wet soil is hard to work with and compacts poorly.
Avoid summer if you can. Heat and humidity make physical work harder. Newly leveled areas settle differently in extreme heat. Spring and fall give you the best conditions.
Plan ahead if you're hiring professionals. Landscaping companies book up during peak season. Schedule your consultation early, especially if you want work done in fall. Getting on the calendar early means you're not waiting months for an opening.
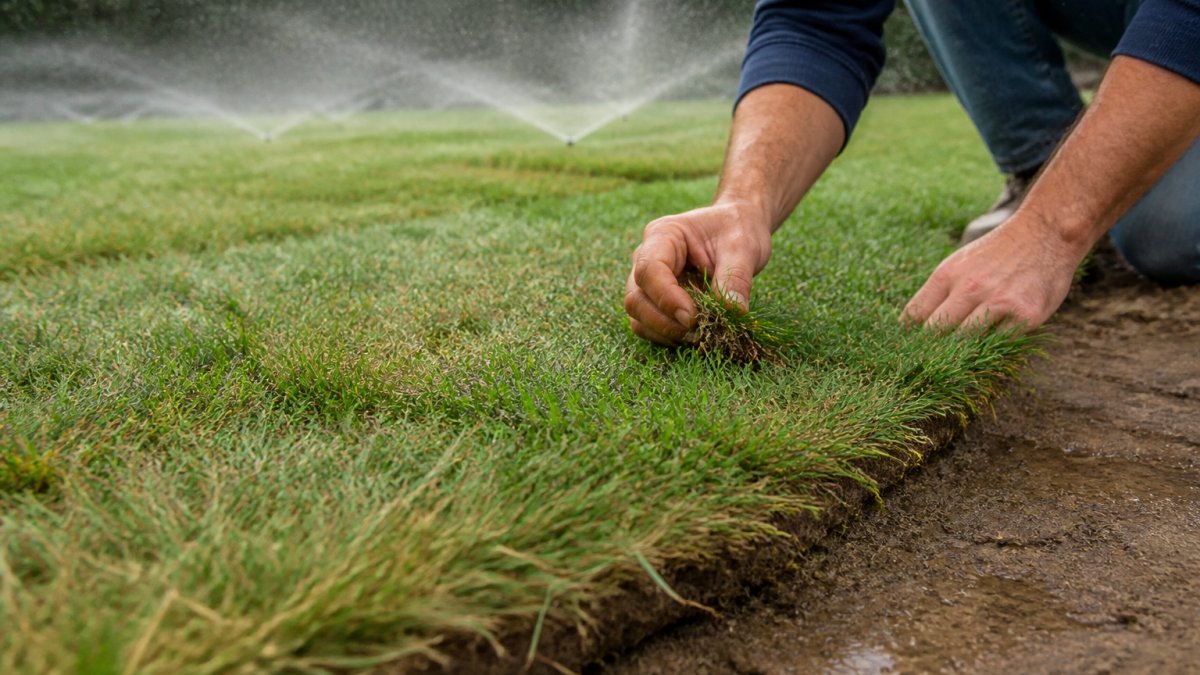
After you level your yard, give it time to settle before planting. Two to four weeks is typical. Water it lightly to help compaction. Watch for settling and add material to low spots if needed. Then seed or install sod.
If you're planning a full landscape redesign along with leveling, coordinate everything at once. It's more efficient than doing leveling now and planting later. You avoid disturbing newly leveled ground.
Book Your Backyard Leveling Consultation
Uneven terrain doesn't fix itself. Water keeps pooling, grass keeps dying, and your yard stays a problem. The solution starts with a professional assessment of your specific situation.
At P&P Landscaping and Tree Service, we evaluate your yard's grade, identify the real cause of pooling water, and create a plan that actually works. We handle everything from material selection to final grading, so your yard drains right and stays level.
View our full range of services to see how we approach yard leveling and landscape transformation. When you're ready to move forward, book your on-site estimate and let's fix your backyard together.
Frequently Asked Questions
How do you level a backyard with uneven terrain without heavy equipment?
For smaller yards or minor slopes, you can level a backyard manually using a shovel, wheelbarrow, and hand rake. Fill low spots with topsoil, compact it, and rake smooth. For large areas or severe slopes, renting a walk-behind roller or hiring a professional with grading equipment is more efficient and produces better results. The choice depends on your yard size, the degree of unevenness, and your physical capacity.
What soil should you use to level a backyard?
Use high-quality topsoil mixed with compost for the top 4-6 inches to support grass and plant growth. For deeper fills, use fill dirt or clay-based soil to create a stable base. Avoid using soil from other parts of your yard if it's compacted or poor quality. Topsoil alone can be expensive for large areas, so many homeowners use fill dirt for bulk and topsoil for the final layer where grass will grow.
How much slope should a yard have for proper drainage?
A yard should slope away from structures at a rate of 1-2% grade, which equals 1-2 feet of drop per 100 feet of distance. This gentle slope allows water to drain naturally without creating visible trenches. Backyard grading for drainage prevents standing water, protects your foundation, and reduces mosquito breeding grounds. Steeper slopes can cause erosion and make mowing difficult.
When is the best time to level a backyard?
Spring and fall are ideal for leveling a backyard in Florida. Spring (March-April) allows new grass to establish before summer heat. Fall (September-October) avoids extreme temperatures and provides moisture for settling. Avoid summer due to heat stress on new sod and winter when soil is too wet. After leveling, give the soil 2-3 weeks to settle before planting or sodding.
Uneven terrain is a problem you can solve. Start by assessing what you have, gather the right tools, and work through the steps methodically. Whether you tackle it yourself or bring in professionals, the key is getting the grading right so water drains away instead of pooling. A properly leveled yard looks better, grows healthier grass, and saves you years of frustration.