 how-to
How to Install Sod Over Existing Grass
Table of Contents
- Can You Put Sod Over Existing Grass?
- How to Prepare Soil for Sod Installation
- Step-by-Step Installation Process
- How Often to Water New Sod in Florida
- How Long Does Sod Take to Root
- Common Mistakes to Avoid
- Frequently Asked Questions
Last Updated: October 11, 2026
Can You Put Sod Over Existing Grass?
Yes, you can install sod over existing grass, but it requires proper preparation first. Many property owners wonder if they can skip the removal step and save time. The short answer is that skipping preparation will almost always result in failure. Dead grass underneath creates air pockets and prevents roots from making solid contact with the soil below.
At P&P Landscaping and Tree Service, we've seen this mistake cost homeowners thousands in failed installations. The sod may look green for a few weeks, then suddenly die when the roots can't establish properly. The good news is that preparing your lawn correctly takes only a few extra days and dramatically increases your success rate.
Think of it this way: you wouldn't paint a wall without cleaning it first. Sod installation works the same way. The foundation matters more than the final layer.
How to Prepare Soil for Sod Installation
Proper soil preparation is the difference between sod that thrives and sod that dies. This step takes the most time but delivers the best results. Most of the work happens before you even order your sod.
Remove or Kill Existing Vegetation
You have two options: remove the old grass completely or kill it in place. Removal takes more effort but works faster. Killing the grass in place takes longer but requires less physical labor.
For removal: Use a sod cutter to slice off the top layer of grass and thatch. Rent one from a local equipment company for about a day's work. The machine cuts a thin layer and rolls it up for disposal. This is the fastest way to prepare your lawn.
For killing grass in place: Apply a non-selective herbicide like glyphosate to the existing grass. Wait 7-10 days for complete death. The dead grass becomes organic matter that improves your soil. This method costs less but takes longer.
After either method, rake the area thoroughly to remove any remaining dead grass, rocks, and debris. A clean surface prevents air pockets under your new sod.
Grade and Level the Soil
Uneven soil causes water to pool in some areas and drain too quickly in others. Both problems kill sod. You need a smooth, level surface that slopes slightly for drainage.
Use a garden rake or landscape rake to smooth out high spots and fill low areas. Walk the yard and look for puddles, these show you where water collects. Fill those spots with topsoil and rake level.
For larger yards, consider renting a landscape grader. It takes out the guesswork and creates a perfectly level base. This is especially important if you're installing sod in Landscape in North Miami, where heavy rainfall can cause drainage issues.
Check your work by looking at the ground from a low angle. You should see a mostly flat surface with a slight slope away from structures. Proper grading prevents the most common problem: waterlogged roots.
Step-by-Step Installation Process
Installing sod correctly takes about one day for most residential yards. The key is working quickly once you start, sod dries out fast, especially in warm weather.
Measure and Order Your Sod
Measure your lawn in square feet. Multiply length by width, then add 10% for waste and cutting around edges. Order your sod to arrive the day before installation or the morning of installation. Fresh sod installed within 24 hours of harvesting performs best.
Contact local sod suppliers in your area. They can deliver rolls or pallets directly to your property. Ask about delivery fees and whether they offer installation services. Many homeowners in Landscape in North Miami use local suppliers to reduce delivery costs and ensure fresh product.
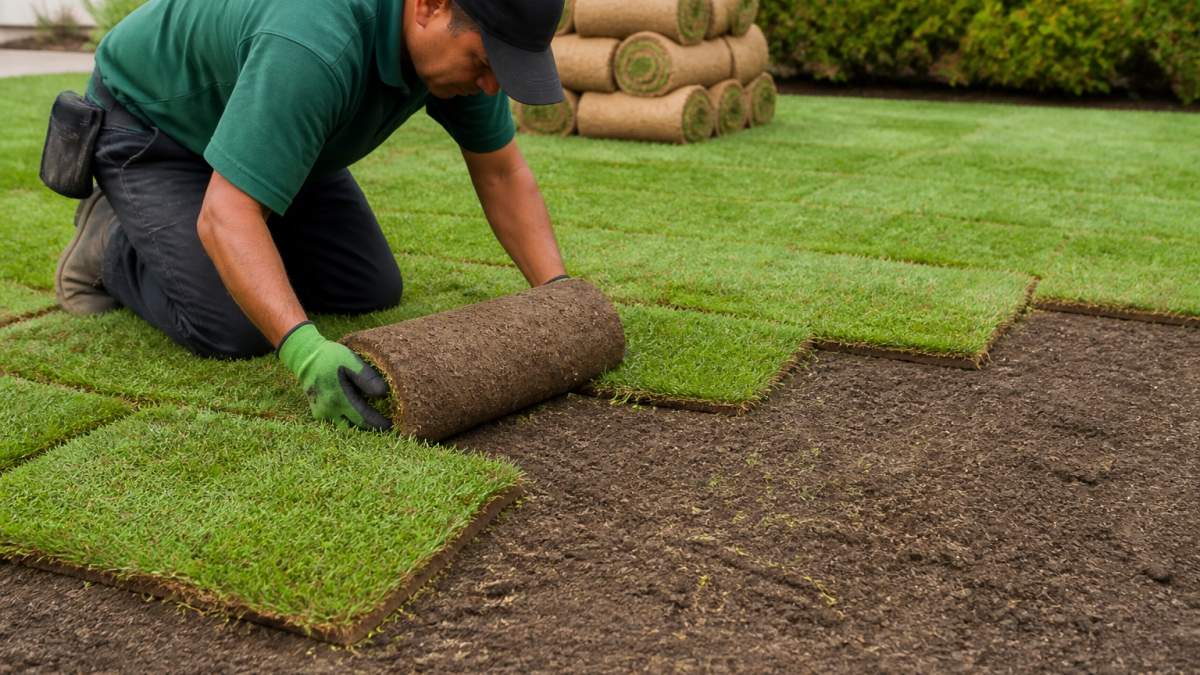
Lay Sod in Staggered Pattern
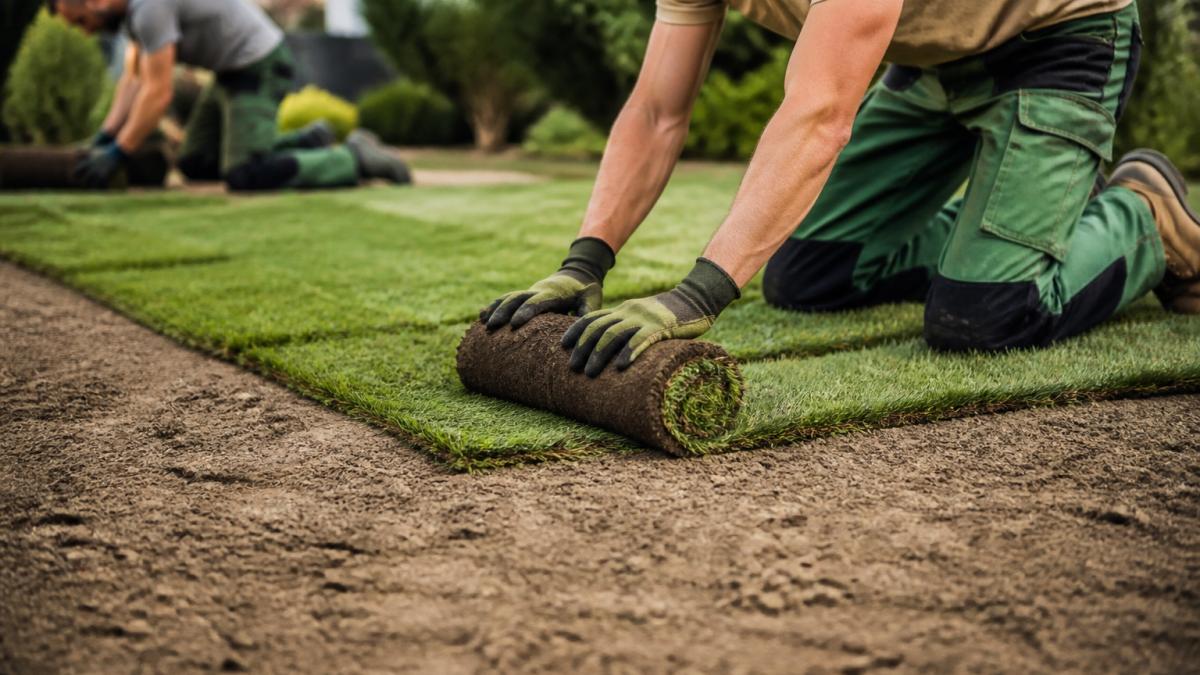
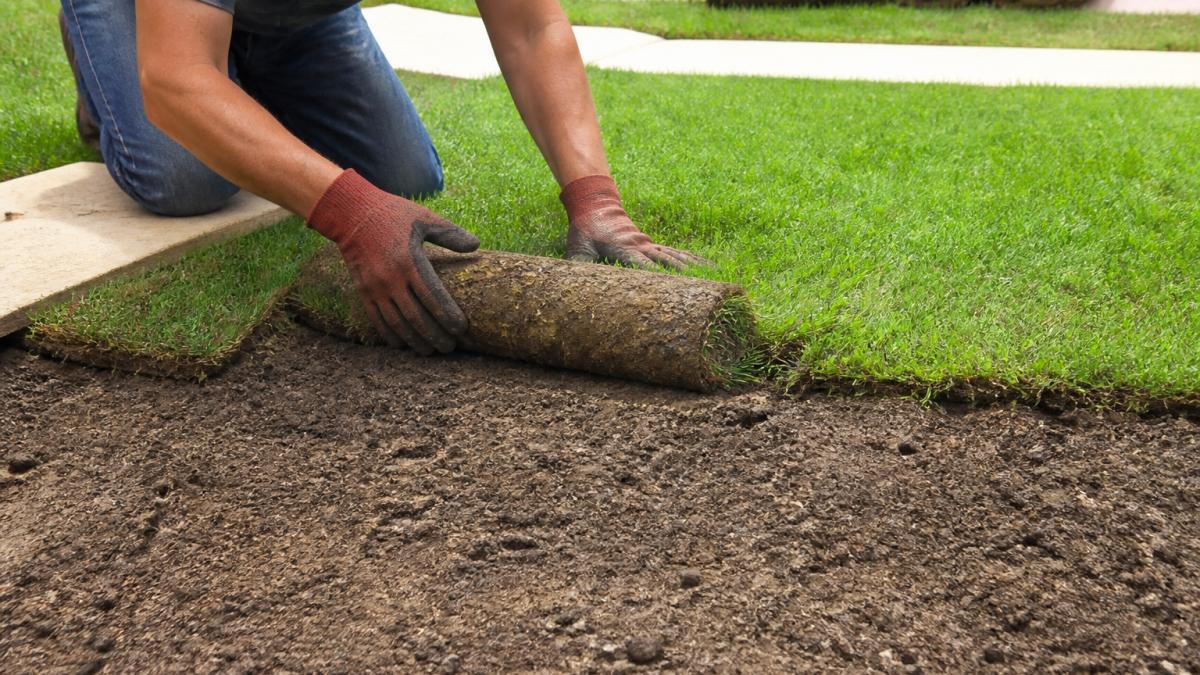
Start at one corner and lay the first row in a straight line. Place the next row perpendicular to the first, staggering the seams like bricks in a wall. This staggered pattern prevents water from running down seams and strengthens the overall lawn structure.
Press each piece firmly into the soil. Use a roller or walk over the sod with your full weight to ensure good contact. The sod should not move when you step on it. Poor contact causes roots to dry out.
Cut sod to fit around trees, walkways, and structures using a sharp knife. Fit pieces tightly together, gaps allow weeds to grow and create weak spots.
Work in the shade when possible. Sod dries quickly in direct sun. If you're installing on a hot day, mist the sod as you work to keep it from drying out.
Water Immediately After Installation
Water deeply right after laying the last piece of sod. Soak the entire lawn until water penetrates the sod and into the soil below. This first watering is critical, it settles the sod into place and begins the rooting process.
For the next two weeks, water daily in the early morning. Check the soil under the sod by lifting a corner. It should feel moist but not soggy. Overwatering causes root rot; underwatering causes the sod to shrink and separate.
How Often to Water New Sod in Florida
Florida's heat and humidity create unique challenges for new sod. The warm climate speeds up water loss but also accelerates root development.
Water new sod daily for the first two weeks. In Florida's summer heat, you may need to water twice daily, once in early morning and once in late afternoon. The soil should stay moist but never waterlogged.
After two weeks, reduce watering to every other day. By week four, water only when the top inch of soil feels dry. Established sod in Florida typically needs water two to three times per week during dry periods.
Watch for signs of stress: wilting, color fading, or curling edges. These indicate the sod needs water. Once the lawn is established (usually 4-6 weeks), it becomes much more drought-tolerant.
How Long Does Sod Take to Root
Sod roots begin establishing within three to five days of installation. You'll see the strongest growth during weeks two through four. By week six, the sod is usually well-rooted and can handle normal traffic.
Complete root establishment takes 8-12 weeks. During this time, avoid heavy foot traffic and keep the lawn moist. Once roots are deep, your sod becomes a permanent part of your landscape.
You can test rooting progress by gently tugging on the sod. If it resists pulling up, roots are establishing. If it lifts easily, roots haven't anchored yet.
Common Mistakes to Avoid
Laying sod over living grass. This is the #1 killer. Dead grass underneath prevents root contact with soil. Always remove or kill existing vegetation first.
Skipping soil preparation. Uneven, compacted, or debris-filled soil prevents roots from establishing. Spend time on this step, it determines your success.
Inconsistent watering. Sod needs consistent moisture for the first month. Skipping waterings or watering sporadically causes failure. Set a daily schedule and stick to it.
Installing sod in wrong season. Cool-season grasses do best in spring or fall. Warm-season grasses (common in Florida) do best in late spring through summer. Installing during dormant seasons slows establishment.
Ignoring drainage problems. If water pools on your lawn, fix it before installing sod. Poor drainage kills roots faster than anything else.
Cutting sod too short. Keep newly installed sod at 3-4 inches tall for the first month. Cutting too short stresses the plant while roots are establishing.
Installing sod over existing grass is possible when you prepare properly. The process takes time, but it prevents costly failures that plague rushed installations. P&P Landscaping and Tree Service specializes in transforming outdoor spaces into lush, sustainable environments. Our commitment to tailored services and seamless project execution means we work closely with each client to bring their unique outdoor visions to life with precision and integrity, creating vibrant havens of natural beauty. Book an on-site estimate now to get a professional assessment of your yard and a customized installation plan.
Frequently Asked Questions
Can you install sod directly over existing grass without removing it first?
Installing sod directly over living grass typically fails because the existing grass prevents sod roots from making soil contact, leading to poor establishment and death within weeks. The grass underneath creates a barrier that blocks water and nutrient penetration. For reliable results, remove or kill existing grass before laying sod. This ensures proper root contact and a healthy lawn that lasts.
How long does sod take to root after installation?
New sod typically roots into prepared soil within 2-3 weeks in warm conditions, though full establishment takes 6-8 weeks. During the first 2 weeks, roots are developing and the sod is vulnerable to stress. Consistent watering and avoiding foot traffic during this period are critical. You'll know rooting is progressing when you can gently tug the sod and feel resistance from the soil.
How often should you water new sod in Florida's climate?
Water new sod daily for the first 2 weeks, keeping soil consistently moist but not waterlogged. After 2-3 weeks, reduce to every other day, then gradually transition to 2-3 times per week as roots establish. Florida's heat and humidity demand careful monitoring; early morning watering reduces evaporation and fungal issues. Once the sod roots firmly (around week 6-8), transition to your regular lawn watering schedule.
What's the best way to prepare soil before laying sod?
Start by removing or killing existing grass using a sod cutter or herbicide. Test your soil and amend with compost or topsoil if needed to reach 4-6 inches of quality soil depth. Grade the area to ensure proper drainage and a level surface, sloping slightly for water runoff. Rake out debris and rocks, then lightly compact the soil. Proper preparation prevents settling issues and ensures sod roots make direct contact with soil for healthy establishment.