 how-to
How to Fix Patchy Lawn: 8 Steps for 2026
Table of Contents
- Why Your Lawn Has Bare Patches: Find the Root Cause First
- How to Prepare Soil for Grass Seed: Steps Before You Sow
- Choose the Right Seed or Sod for Your Region
- Sod vs Seed for Lawn Repair: Which Fix Lasts Longer?
- How to Water New Grass Seed Without Washing It Away
- Fertilize and Top Dress to Speed Up Recovery
- Patchy Lawn Mistakes That Cause Repeat Damage
- When to Call a Professional for Lawn Repair
- Frequently Asked Questions
Last Updated: September 5, 2026
Why Your Lawn Has Bare Patches: Find the Root Cause First
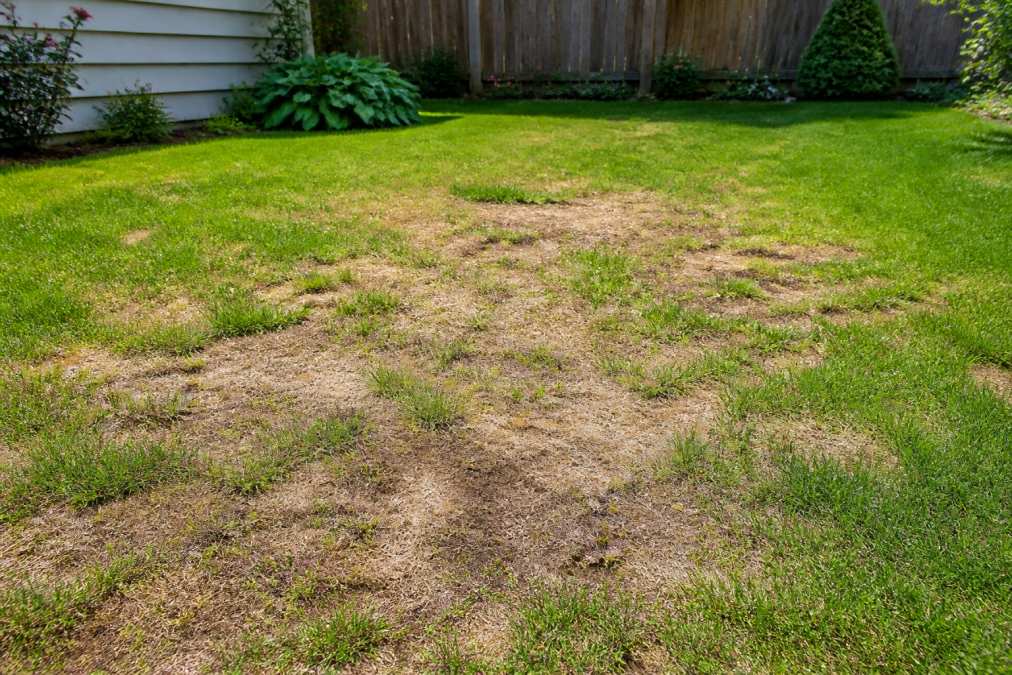
A patchy lawn is usually a symptom, not the problem itself. Before you buy seed or roll out sod, identify why the grass died, or you will simply repeat the cycle of repair and disappointment. The most common reason repairs fail is skipping this diagnostic step.
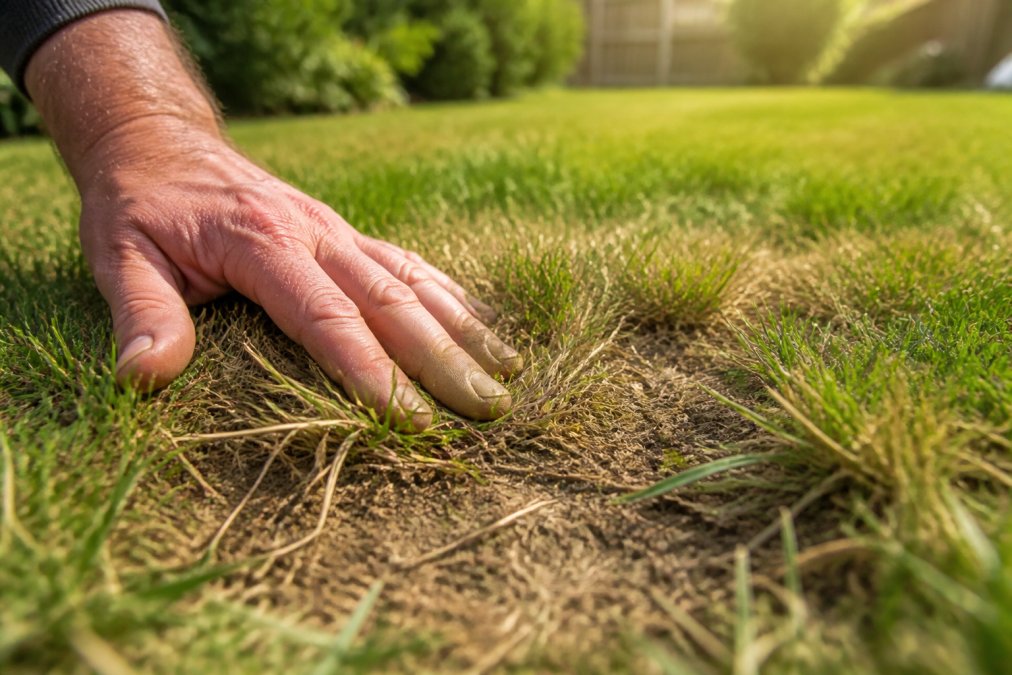
The most frequent culprits fall into a few clear categories: soil compaction, nutrient deficiency, heavy foot traffic, pet urine, thatch buildup, improper irrigation, grubs, fungal diseases, and shaded areas where grass cannot thrive.
A common mistake is treating every bare patch the same way. A circular brown spot with a spongy feel points to grubs, while irregular dead areas near the sidewalk often signal heat stress or salt damage. Look closely at the pattern, dig up a small section to check the soil, and rule out pests before spending money on seed.
This diagnostic-first approach matters because the fix for one cause can damage a lawn suffering from another. For example, adding nitrogen-rich fertilizer to a drought-stressed lawn can burn the roots further. Identifying the root cause first ensures every subsequent step actually addresses the problem.
How to Prepare Soil for Grass Seed: Steps Before You Sow
Proper soil preparation is the foundation of any successful lawn repair. The goal is to create a seedbed that maximizes seed-to-soil contact, provides a loose medium for root penetration, and balances moisture retention with drainage. Here is a recommended sequence for repair jobs.
Step 1: Remove the dead material. Use a stiff metal rake to aggressively pull up all dead grass, thatch, and debris. For patches larger than a few square feet, a power rake or dethatcher (rentable for about $75 per day) does a more thorough job; for small patches, a manual rake is sufficient. The goal is to see bare soil, not a mat of dead roots.
Step 2: Loosen the top 2 to 3 inches of soil. This is non-negotiable; grass seed will not germinate on compacted ground. For a small patch, a garden fork or hand cultivator works; for larger areas, use a core aerator or rear-tine tiller. If you hit a solid layer of clay or rock, stop and assess, you may need to amend the soil more heavily or consider a different strategy.
Step 3: Amend the soil based on a test, not a guess. A soil test kit from your local county extension office (often under $20) tells you your pH and nutrient levels. Most turfgrasses prefer a pH between 6.0 and 7.0 (extension.org). If below 6.0, incorporate lime (typically 10 to 15 pounds per 100 square feet for sandy loam, less for clay); if above 7.0, use elemental sulfur. For organic matter, work in a 1/2-inch layer of compost or a commercial soil conditioner, this improves water infiltration and microbial activity, not fertility.
Step 4: Level and firm the seedbed. Rake the area smooth, filling in low spots. Then use the back of a rake or a lawn roller (filled with water, not cement) to gently firm the soil. The seedbed should feel like a firm sponge, you can press a fingerprint into it, but your foot should not sink in deeply. This ensures the seed sits in contact with the soil rather than falling into a crevice where it cannot germinate.
Step 5: Address drainage issues now. If the patch is in a low spot that collects water, fix the grade before you seed. Add topsoil to raise the area, or install a simple French drain if the problem is severe. Seeding into a puddle is a waste of time and money.
Following these steps, removing, loosening, testing, amending, and firming, takes a few hours but is the single biggest factor in whether your seed germinates and survives its first summer. This is your chance to fix the underlying soil issue, not just the surface symptom.
Choose the Right Seed or Sod for Your Region
Selecting the correct grass type is the difference between a lush yard and a constant battle. In South Florida, warm-season grasses dominate, and the most reliable choices are St. Augustine, Bahia, Zoysia, and Bermuda. Each performs differently in sun, shade, salt exposure, and drought, so match the variety to your specific yard conditions.
A patchy lawn in a shaded courtyard needs a shade-tolerant cultivar, while a sunny, high-traffic backyard calls for a durable Bermuda blend. Cool-season grasses like fescue and ryegrass will struggle in our subtropical climate, so they are rarely the right answer here. If you are unsure which variety suits your property, a professional assessment saves you from buying the wrong product.
Sod vs Seed for Lawn Repair: Which Fix Lasts Longer?
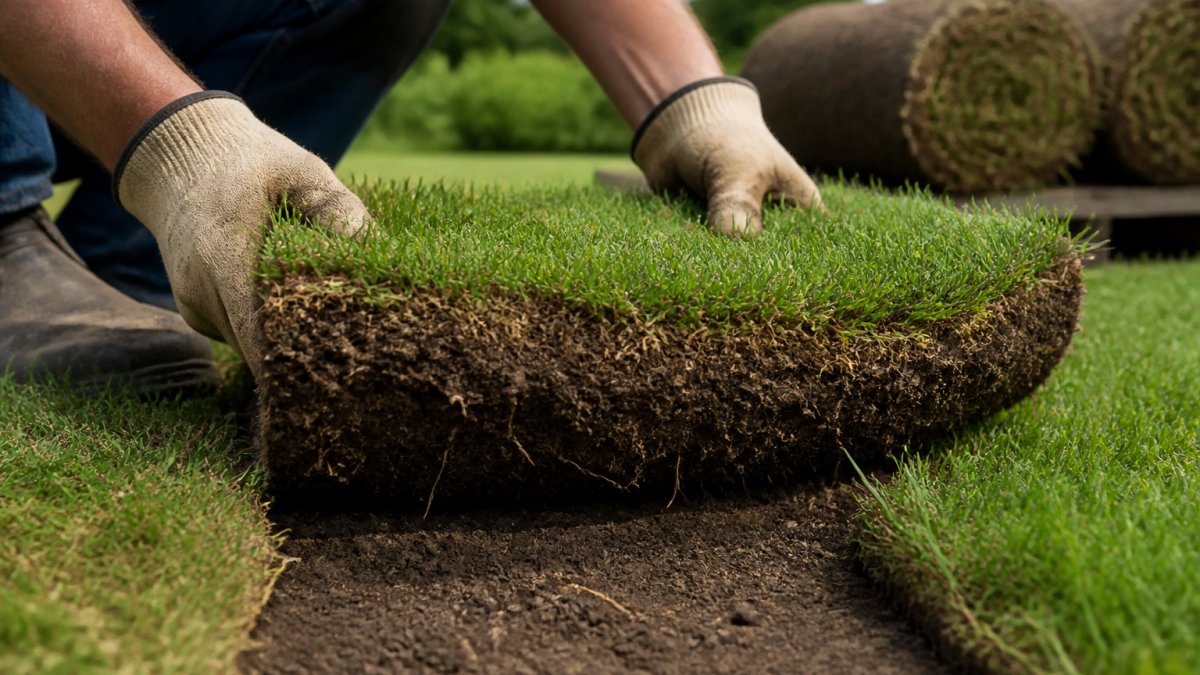
The sod vs seed for lawn repair decision comes down to budget, patience, and the size of the damage. Seeding is far less expensive and works well for large areas, but it requires several weeks of careful watering and protection before the turf establishes. Sod delivers an instant, usable lawn, but it costs more and demands diligent watering in the first two weeks to prevent shrinkage.
| Option | Time to Establish | Best For | Key Consideration |
|---|---|---|---|
| Grass Seed | 3 to 6 weeks | Large areas, budget repairs | Needs consistent moisture, weed control |
| Sod | 2 to 3 weeks | Instant results, erosion control | Higher cost, requires immediate watering |
| Plugs/Sprigs | 6 to 12 weeks | Small patches, slow spreading grasses | Cheaper than sod, longer wait |
For small bare patches, seeding or plugging is usually the most practical route. For larger damaged zones or a yard that needs to look good immediately, sod installation provides the fastest, most reliable recovery. A hybrid approach also works: seed the large open areas and lay sod in high-visibility spots near the entryway.
How to Water New Grass Seed Without Washing It Away
The most delicate phase of any repair is the watering schedule. Grass seed needs constant surface moisture to germinate, but it is also lightweight and easily displaced. The solution is not just "water lightly", it is a precise, adaptive schedule that responds to your specific conditions.
The First 14 Days: The Germination Window
For the first two weeks, keep the top 1/2 inch of soil consistently damp, not soggy, not dry (extension.psu.edu). Water 2 to 3 times per day, with a good starting point of 5 to 10 minutes per session for a standard oscillating sprinkler on medium. The test is simple: a screwdriver should penetrate easily, and the soil should feel like a wrung-out sponge.
Adjust for Temperature and Slope
On a hot day (above 85°F), water more frequently, possibly 4 times per day, because surface moisture evaporates quickly. On a cool, overcast day, 2 sessions may be enough. If your patch is on a slope, use a "cycle and soak" method: water for 3 minutes, wait 30 minutes for absorption, then water for another 3 minutes. This prevents runoff and keeps the seed in place.
The Transition: Weeks 3 and 4
Once you see germination (typically 7 to 21 days depending on grass type), reduce watering to once per day but increase duration to 15 to 20 minutes. This encourages roots to grow deeper. Continuing the frequent, shallow schedule produces shallow-rooted grass that dies in the first heat wave.
The Diagnostic Angle: Why Your Watering May Be Failing
If your seed is not germinating, or if seedlings are dying, the problem is often the pattern, not the amount. Common watering-related failures include:
- Washed-away seed: If you see seed clumped in the corner of the patch or at the bottom of a slope, your water pressure is too high. Switch to a nozzle with a finer mist or a sprinkler with a lower flow rate.
- Damping-off disease: If seedlings are rotting at the base, you are overwatering. The soil should never be muddy. Allow the top 1/4 inch to dry slightly between waterings.
- Dry seed pockets: If you see bare spots in the middle of a watered patch, your sprinkler may not be reaching that area. Check for dry spots by feeling the soil 30 minutes after watering.
Irrigation best practices from the Environmental Protection Agency's WaterSense program emphasize watering deeply and infrequently once turf is established, which builds drought tolerance. For new seed, however, the opposite is true: frequent, light watering is essential until germination, then you transition to the deeper, less frequent schedule. The key is to monitor the soil, not the calendar, and to adjust your schedule based on temperature, slope, and the specific grass type you are growing.
Fertilize and Top Dress to Speed Up Recovery
Once your new grass reaches about 1 inch in height, it is ready for its first feeding. A starter fertilizer high in phosphorus supports root development, but check your soil test first, as many Florida soils already contain adequate phosphorus. Applying a balanced lawn fertilizer at the recommended rate helps the turf thicken up and crowd out weeds.
Top dressing is an underused technique that dramatically improves repair results. After seeding, spread a thin layer (about a quarter inch) of compost or fine topsoil over the patch. This protects the seed from birds and sun, holds moisture, and introduces beneficial organic matter for long-term soil health.
Patchy Lawn Mistakes That Cause Repeat Damage
Several common errors turn a simple repair into a recurring headache. Mowing too short is the most widespread mistake, as scalping stresses the grass and invites weeds and bare spots. Set your mower blade high and never remove more than a third of the leaf blade at a time.
Another frequent failure is neglecting soil aeration. Compacted soil chokes roots and prevents water and nutrients from penetrating. Core aeration once or twice a year relieves compaction and is one of the best long-term investments in lawn health. Ignoring the irrigation schedule leads to drought stress or shallow roots that die in the first heat wave.
Pet damage deserves special attention, especially for homeowners with dogs. Urine burns create yellow patches with green rings, and salts accumulate in the soil. Flush the area with water immediately after your pet urinates, and water the spot deeply to dilute the salts before reseeding.
When to Call a Professional for Lawn Repair
Some patchy lawn problems are beyond the reach of a weekend DIY project. If you have tried reseeding, watering, and fertilizing without success, or if the damage covers more than half your yard, professional intervention is the smarter move. Large-scale renovation, severe compaction, and persistent pest or disease issues all benefit from expert diagnosis and equipment.
P&P Landscaping and Tree Service offers tailored sod installation and ongoing turf maintenance. With over two decades of experience across Miami-Dade and Broward County, we understand the specific challenges of South Florida soils and climate. We also handle the full scope of tree care, so if a struggling tree is shading out your grass or dropping debris, we can address that root cause too.
A professional evaluation often reveals issues you cannot see, such as a failing irrigation zone or a soil pH imbalance that no amount of fertilizer will correct. An expert assessment upfront frequently costs less than repeated failed attempts at repair.
Repairing a patchy lawn requires patience, the right diagnosis, and consistent follow-through on watering and maintenance. If you are tired of fighting the same bare patches season after season, the experienced team at P&P Landscaping and Tree Service can design a tailored solution that addresses your soil, your grass type, and your property's unique conditions. From initial design to sod installation, we provide comprehensive landscaping and expert tree care solutions. Book On-site Estimate Now! and let us turn your struggling lawn into a lush, sustainable landscape.
Frequently Asked Questions
Will patchy grass come back on its own?
Sometimes, but it depends on the cause. If the patchiness comes from soil compaction, pet urine, or heavy thatch, the grass will not recover without intervention. Cool-season grasses may fill in slowly during fall growth, but warm-season grasses often spread through runners. If bare patches persist for more than a few weeks, you need to repair them with seed or sod. Testing the soil first tells you whether pH or nutrient issues are blocking regrowth.
What is the best time of year to repair lawn patches?
The best time depends on your grass type. For cool-season grasses like fescue, early fall is ideal because soil temperatures are still warm enough for germination while air temperatures are cooler. For warm-season grasses like Bermuda or St. Augustine, late spring through early summer gives seed or sod time to establish before heat peaks. Avoid repairing patches in winter when grass goes dormant, since new seedlings will not survive frost.
Do I need to remove dead grass before reseeding?
Yes. Dead grass blocks seed-to-soil contact, which prevents germination. Rake the patch vigorously to pull up debris and loosen the top quarter inch of soil. If thatch is thicker than half an inch, remove it completely before adding new seed. For large areas, a power rake or dethatcher makes the job faster. Without this step, seed sits on top of debris and dries out before roots can establish.
Is sod or seed better for fixing a patchy lawn?
Sod gives instant results and works well for large bare areas or slopes where erosion is a risk. Seed costs less and suits small patches, but requires consistent watering for several weeks. Sod installation also works better if you need to prevent weeds from taking over immediately. For patchy lawns with multiple trouble spots, overseeding with the right grass type often creates a more uniform look over time, but sod guarantees immediate turf density.